Booting Your First VMware Virtual Machine
Hello everyone,
Now that we’ve got some example virtual machines to play around with, let’s move on to the next step and get one running.
I’m using VMware Player on Windows XP, and the VM files have been extracted to My Documents\My Virtual Machines. The folder contents look like this:

Digging into the VM installation directory proper, you see all of the files that make up your virtual machine:

The .vmx file is a text file that contains all of the virtual machine configuration options. You can change the VM memory allocation, add/remove devices, etc. just by editing that file. The .vmdk files are the virtual machine’s disks and store its state across reboots.
If your VM ever runs out of disk space and you still have room on your host operating system, you can create additional vmdk files and attach them to the VM. That sure is easier than cracking open a server case and physically installing new drives!
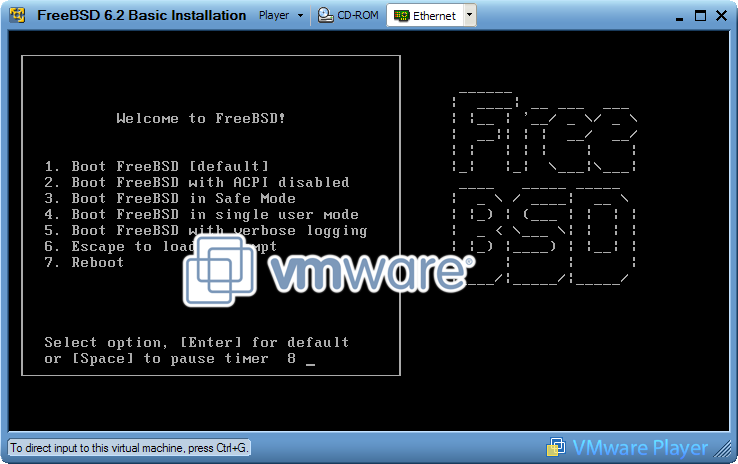
Next, double-click on the FreeBSD 6.2 Basic Installation.vmx file, and VMware Player starts up and boots the VM:
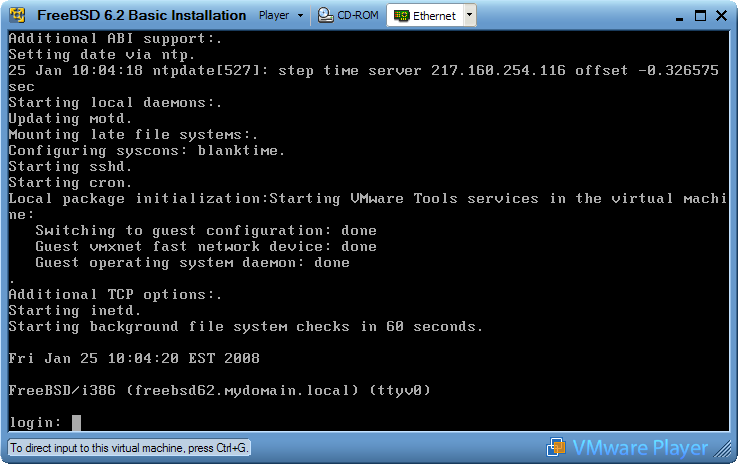
After the usual messages, the virtual machine has booted, and you see the familiar UNIX login prompt:
Next time, we’ll dive into installing the various PHP frameworks under FreeBSD. The FreeBSD ports system is designed for ease of use, and you’ll see how simple it is to get a software package and all of its dependencies installed with one command.