Hi everyone,
I was recently reminded of a problem I ran into when I first set up the SourceHosting.net service on VMware Server. The VMware technology has the concept of virtual networks, including a host-only network. The host-only network enables several VMs on the same host to communicate on their own private Ethernet switch. This is a great way to simulate a real-world, production environment.
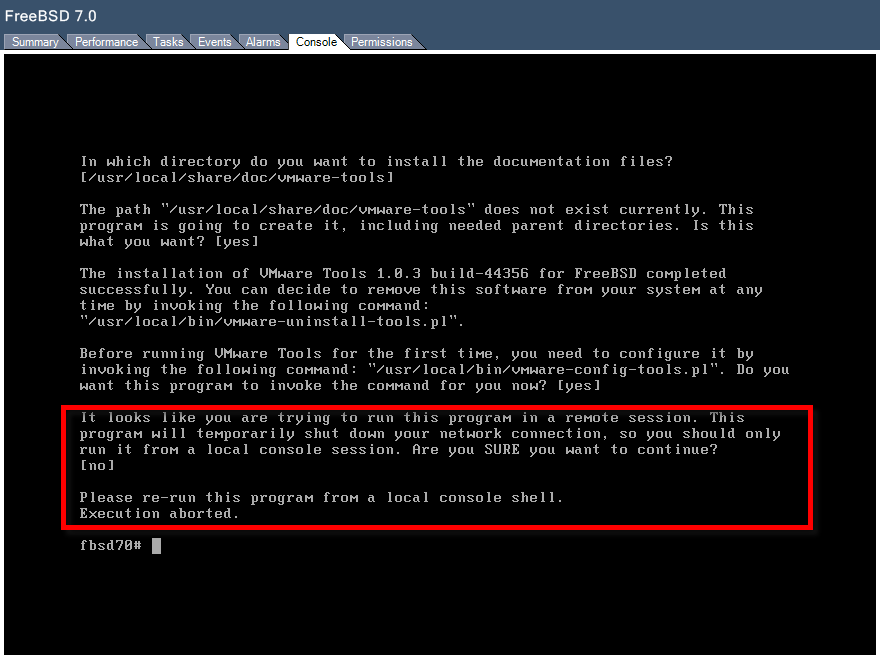
However, what if you want resources on the host-only network, such as private servers without routable public IP addresses, to be able to make outbound connections to the outside world? That’s where it gets a bit tricky! The SourceHosting.net service assigns a FreeBSD jail to each client, and these servers each have an IP address on the host-only network. They need to make connections to the public Internet, so after some digging around, I found a solution.
The first thing to do is assign a host-only network gateway address to your VMware Server host. In my case, the host-only network is addressed as 172.16.80.0/255.255.240.0. The physical server’s gateway address is therefore 172.16.80.1.
Each VM has 2 NICs defined, one with a routable Internet address and one with a host-only address, perhaps 172.16.80.2. A FreeBSD jail running inside a VM will have a host-only IP address aliased to the 2nd NIC, such as 172.16.80.55. Somehow, a packet originating in the jail must pass out through the VM, then the physical host to the destination and back again.
The FreeBSD VM can easily send its packets out to the host-only address on the physical host by using this directive in its /etc/rc.conf file:
defaultrouter="172.16.80.1"
Since the jail IP addresses are aliased to the host-only NIC in the VM, packets originating from a jail will also use 172.16.80.1 as their default router.
At the physical host level, in order for packets to pass from its host-only interface to its external interface, it must be configured as a router. That’s done by adding the following directive to the /etc/sysctl.conf file (on RHEL 4 and other flavors of Linux):
net.ipv4.ip_forward = 1
So far, so good. Now here’s where the craziness, errr magic, happens! The following firewall script is added to /etc/rc.local:
IPT=/sbin/iptables
IF_PUB1=eth0 # Public Ethernet interface of VMware Server host
IP_PUB1=AAA.BBB.CCC.11 # Public IP of VMware Server host
NET_PRV1=172.16.80.0/20 # VMware Server host-only network
$IPT -P INPUT ACCEPT
$IPT -P OUTPUT ACCEPT
$IPT -P FORWARD ACCEPT
$IPT -F -t nat
$IPT -F -t mangle
$IPT -F -t filter
$IPT -X
$IPT -t nat -A POSTROUTING -s $NET_PRV1 -o $IF_PUB1 -j SNAT –to $IP_PUB1
The most important bit of this script is the last line. The rest of it defines some variables and cleans up the firewall rules to a known state. Since a hardware firewall is doing all of the heavy lifting in front of this server, the iptables software firewall is going to serve simply as a source address packet mangler. Hmm, “packet mangling” – that sounds nasty! But it’s actually a good thing here, because it ensures that packets get from point A to B and back again.
We also need to look at the routing table to figure out how source address mangling will change how the packet behaves:
Kernel IP routing table
Destination Gateway Genmask Flags MSS Window irtt Iface
AAA.BBB.CCC.12 AAA.BBB.CCC.11 255.255.255.255 UGH 0 0 0 eth0
AAA.BBB.CCC.8 0.0.0.0 255.255.255.248 U 0 0 0 eth0
172.16.80.0 0.0.0.0 255.255.240.0 U 0 0 0 vmnet1
0.0.0.0 AAA.BBB.CCC.9 0.0.0.0 UG 0 0 0 eth0
Normally, if a packet originates from the vmnet1 interface (VMware host-only network) with a source address of 172.16.80.55 and bound for www.google.com (74.125.47.103), it will be handled by the default route and sent out the eth0 interface. That’s all well and good, but when Google tries to reply, a router somewhere along the way sees a source address of 172.16.80.55 and drops the packet.
Enter POSTROUTING and SNAT! Here is the expanded iptables command from our script above:
/sbin/iptables -t nat -A POSTROUTING -s 172.16.80.0/20 -o eth0 -j SNAT –to AAA.BBB.CCC.11
Ok, let’s break it down:
- Add a rule to the nat table (“
-t nat”)
- Append the rule to the POSTROUTING chain (“
-A POSTROUTING”) – i.e. apply rule after deciding which route will handle the packet
- Process the packet when its source address originates on the host-only network (“
-s 172.16.80.0/20”) and it’s bound for the eth0 interface (“-o eth0”) – normally a bad thing!
- Jump to the SNAT target for source address modification (“
-j SNAT”)
- Change the source address to
AAA.BBB.CCC.11 and send the packet on its merry way (“--to AAA.BBB.CCC.11”)
This means that when the packet reaches the Google server, it contains the valid source address of AAA.BBB.CCC.11 that maps to our VMware Server host. Reply packets flow back to the host, and then iptables remaps the destination address from AAA.BBB.CCC.11 to the proper host-only network originating address, according to the stored connection information.
Iptables is an incredibly flexible tool that performs many useful packet modification tasks, as well as firewall functions. If you have any favorites uses for it, feel free to post comments and feedback!